
Get this Mini Unit Study FREE!
Recently we started making a history lapbook in our homeschool. I am amazed at how much fun my son is having with this simple project, and how much he is learning. In this post I’ll show you how to make a lapbook of your own, and why lapbooks are great for homeschooling.

What is a lapbook?
A lapbook is a book, made out of a file folder, that includes a number of mini-books about a topic. Kids can create a lapbook by cutting and coloring mini books and gluing them inside a folder.
The finished file folder book is called a lapbook because the book is usually big enough to spread out on your lap to read. The process of making a lapbook is called lapbooking.
In homeschooling, lapbooks allow kids to organize information they are learning and display it visually. Lapbooking is a great way for kids to apply information they are learning, so that they will remember it better.
What does a lap book look like?
Lapbooks are made out of a manilla folder that is folded tri-fold style, like this:

Inside the folder, mini books are glued in about each different topic.
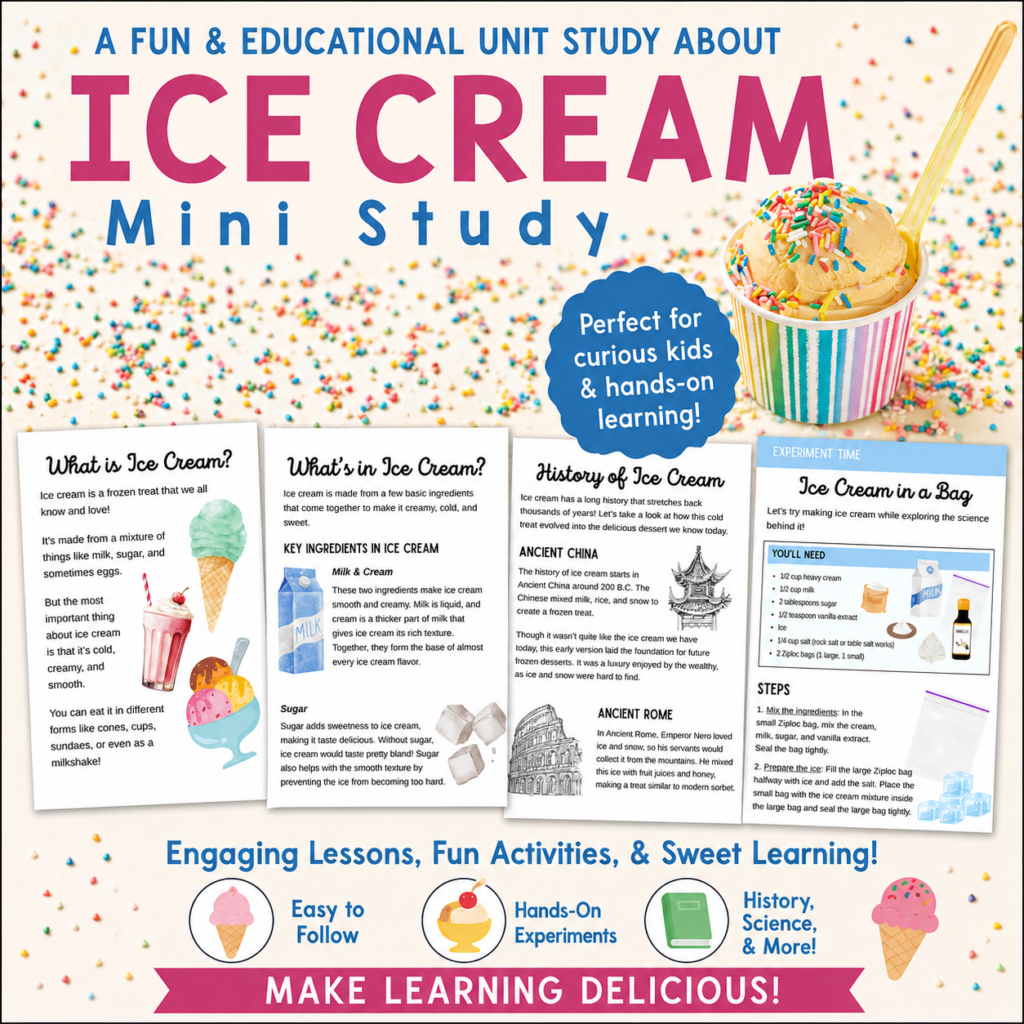
Get this Mini Unit Study FREE!
What is the purpose of a lapbook?
There are several reasons why every homeschooling family should know how to make a lapbook.
1. Lapbooks help kids organize what they are learning.
A lapbook works like a graphic organizer that helps kids organize and display the information they are learning. Making a lapbook can help kids understand how the facts they are studying are related.
2. Lapbooks allow kids to learn with different learning styles.
Making a lapbook is great for visual learners because they can read and see the information that they are learning. Lapbooks often include graphic organizers, charts and tables, and pictures, and these things can all help visual learners understand and remember information better.
Lapbooks are also really helpful for kinesthetic learners. The process of making the lapbook allows kinesthetic learners to work with the information in a more hands-on way than just reading a textbook. And, the completed lapbooks often have flaps, spinners, and other hands-on elements that can be re-read over and over again to help kinesthetic learners remember the information better.
Because lapbooks are so flexible they are great for kids of different ability levels and learning styles.
3. Lapbooks can be used by any age of child.
Lapbooks are very flexible and can be made and used by kids of any age. Families who are homeschooling multiple kids can customize their curriculum by showing each child how to make a lapbook at their level. Younger kids can color pictures for their lapbooks while older children write summaries of the information they have learned.
Kids of multiple ages might also enjoy working together to create a lapbook about a subject they are studying together. Lapbooking can be a good way for kids of different ages and ability levels to work together on a project that uses everyone’s skills. This is a great strategy for large family homeschooling with more than one child.
4. Lapbooks can be used for any subject.
No matter what you are studying in your homeschool, you can show your kids how to make a lapbook to summarize the information that they are learning. Lapbooks are flexible and can be adapted to fit almost any homeschool subject imaginable!
Kids can also create lapbooks for a unit study that include more than one subject. A lapbook about Pandas, for example, might include the science of what Pandas eat, a map of where Pandas can be found, math about how long Pandas live, and a book review of a novel about Pandas. Kids who know how to make a lapbook for a unit study are learning to draw connections between multiple subjects.
5. Lapbooks teach kids how to research.
Making a lapbook is a great way to teach kids how to do research. Kids can look for the information they would like to include in their lapbooks, and then present their research in a fun and hands-on way.

6. Lapbooks are great for review.
Making a lapbook is a great way to review information that kids are learning. Kids can re-read their lapbooks over and over again to help them review and remember the information even better.
7. Lapbooks can be an assessment of learning.
Instead of giving a test, what if you showed your child how to make a lapbook and asked them to create one about a topic they had studied? This is a great way to understand what a child has learned about a subject.
8. Lapbooks are fun to make.
Making a lapbook is a fun way to apply what has been learned in a homeschool lesson. Even kids who do not like to write may enjoy lapbooking, because they can show what they have learned in other ways. Lapbooks can also be less intimidating for kids who don’t enjoy a lot of writing.
9. Lapbooks are a great way for kids to showcase their creativity.
Showing kids how to make a lapbook can be a great way to allow them to express their creativity. Kids can enjoy coloring and decorating their lapbooks, and older kids might enjoy designing the lapbook and the mini books to go inside it.
10. Lapbooks are inexpensive and easy to make.
I love that it is easy to make a lapbook, using just a few common household supplies!
What Supplies Do You Need to Make a Lapbook?
Lapbooks can be made using common household supplies such as:

- File folders:
These will form the cover and pages of your lapbook. Any manilla file folders will work, but brightly colored file folders can be extra fun for kids. - Paper:
Consider choosing slightly thicker paper because it will hold up well to lots of use. - Scissors
- Glue or tape:
Clear packing tape is helpful for assembling the lapbook. A glue stick or rubber cement works well for attaching the mini books into the lapbook. - Crayons and markers
- A printer
How to Make a Lapbook

Step 1: Choose and research the topic.
For this step, you could choose a lapbook file that has already been created. All you will need to do is print the pages and assemble the lapbooks. Or, you could research and create your own lapbook using a template.
Step 2: Make a folder into a lapbook.
Open a manilla file folder, then fold the 2 sides in to the middle to create a tri-fold book. This will be the cover and pages of your lapbook.
Step 3: Create mini-books.
Using a template, a printable lapbook file, or your own imagination, create mini books for the facts you want to include in your lapbook.
Step 4: Glue mini-books into the lapbook.
Glue each of the finished mini-books into your lapbook using a glue stick or rubber cement.
How do I create a lapbook with 2 folders?
You can create a double lapbook by gluing a second folder onto the first one, or a triple lapbook by adding a third folder! This will allow you to add more information than in traditional lapbooks.

Another way to add more information to lapbooks is with a flap. Cut a flap out of another folder or a piece of cardstock and tape it to the top of the lapbook with clear packing tape.
Get this Mini Unit Study FREE!
Kinds of mini books
Inside a lapbook you can really get creative with different kinds of mini books! Here are a few ideas:
Basic Book
Cut out small pages. Stack them together and staple them to make a book. Glue the back cover of the book to the lapbook folder.

Shaped Book
This is like the basic book, but with the pages cut out in a unique shape. Shaped books can add creativity and variety to your lapbooking.

Make a pocket with tabs on the bottom and sides. Fold the tabs under and glue them to the folder. You can make puzzle pieces, cut out pictures, or create a vocabulary matching game with terms and definitions to put in the pocket.

Accordion Fold Book
Cut out a long piece of paper and fold it back and forth like an accordion. This is a great way to add a map, a timeline, or a larger picture to your lapbook.

Matchbook
A matchbook is like a folder with a tab to keep it closed. Glue the back of the matchbook to the file folder to add it to your lapbook.

Tabbed book
A tabbed book might have a tab on each page that tells what topics are included in the book. Or, it might have several tabs that can be opened independently to learn more about the topic.

Other ideas
Other creative ideas include a spinning wheel, several pages attached together with a brad, and a flower with petals that open to reveal pages of the book. The possibilities are endless, and this is a great way to allow kids to be creative!

How do we use lapbooking?
We were introduced to the idea of lapbooking recently, as I was looking for a follow up activity to do along with The History of the World by Susan Wise Bauer. I found this amazing free lapbooking resource which goes along with the History of the World books.
In our homeschool, we read a chapter in the book together, and then on another day, we complete the lapbooking activity that goes with that chapter. This is a great way to remember and reinforce the information that we have learned. My son also enjoys reading through his lapbook, which is a great review of the previous chapters we have studied.
More About Lapbooking
You can find more information about how to make a lapbook at Homeschool Share, Mrs. Jones’ Room, and Homeschool Helper Online.
Did you know that you can homeschool for free? Check out 31 Free Homeschool Curriculum Options and 135 Best Homeschool YouTube Channels for some options!


